Shape is a great way to distinguish one element type from another. With the introduction of the stock and flow template, we've added support for rectangular elements. You're not just limited to using them via the stock and flow template though. Here's a quick how-to for using them on any map in your project.
Determine what you want to highlight
Do you have certain element types that you want to stand out? Maybe you want "resources" to show up as rectangles while stakeholders who affect those resources show up as circles? Or maybe you're looking to make organizations stand out visually from the people that are connected to them?
Changing the element shape
In this example, we'll walk through how to use and customize rectangles. To change the shape of an element to a rectangle, just use the "shape" property. For example, we could set the default shape for all elements by using @settings:
@settings {
  element-shape: rectangle;
}
In this case, we only want organizations to be rectangles so we'll add this decoration instead:
organization {
  shape: rectangle;
}
This gives us the following result:
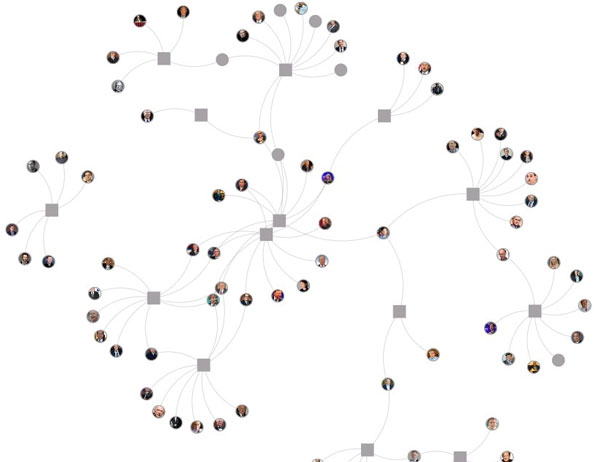
You'll see that by default rectangles show up as squares. If you're looking for rectangles, you can use width and height to tweak the shape:
organization {
  shape: rectangle;
  width: 200;
  height: 100;
}
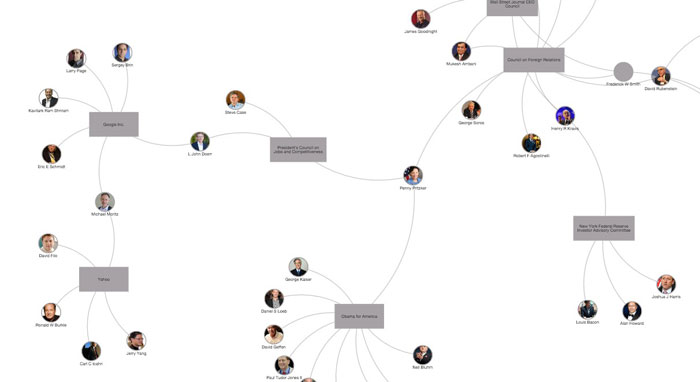
Using size:auto
You can go beyond this and include the labels inside the elements and have the size of the elements re-size automatically to fit the text. Here's an example:
organization {
  shape: rectangle;
  size: auto;
  min-width: 200;
  min-height: 100;
  label-placement: center;
}
Enjoy!